
To fix a shower arm leaking at the threads, first turn off the water supply to the shower. Then unscrew and remove the old shower arm from its connection. If there is any corrosion or buildup on either end, use a wire brush to clean it away.
Apply pipe thread tape (made for plumbing) around each threaded end of the new shower arm before screwing it into place. Hand-tighten only; do not use tools as this may damage both parts. Make sure that all connections are secure and no more water is leaking from any area of the joint before turning back on the water supply to your shower.
If you’ve ever taken a shower and noticed water dripping from the arm, it’s likely that your shower arm is leaking at the threads. This can occur due to wear or when the seal between two threaded parts has been broken. The most common cause of this type of leak is usually an incorrectly installed washer or rubber gasket, which should be checked as soon as possible in order to prevent additional damage caused by water leakage.
Shower Arm Leaking at Drop Ear
If you notice water leaking from your shower arm at the drop ear, it’s likely due to a worn out gasket. The gasket is located between the wall and the shower arm, and can become brittle or cracked over time. You’ll need to replace this part in order to stop the leak.
Fortunately, replacing a shower arm gasket is easy; just make sure you have all of the tools necessary before beginning installation.
Shower Arm Leaking behind Wall
If your shower arm is leaking behind the wall, it can quickly lead to a major plumbing issue if not addressed in a timely manner. The water that seeps through the hole where the arm attaches to the pipe will cause mold and mildew growth inside your walls. It’s important to have an experienced plumber inspect and repair any leaks as soon as possible before more serious damage occurs.
Shower Arm Leaking at Base
If you notice water dripping from the base of your shower arm, then it may be time to replace it. This is usually caused by a corroded connection between the shower arm and wall pipe, or due to worn-out seals that no longer keep water out. Replacing your shower arm can help stop this leak and prevent further damage to your walls and flooring.
How to Fix a Leaking Shower Arm
If your shower arm is leaking, don’t despair! It’s a relatively easy fix. Start by shutting off the water supply and draining any remaining water from the pipe coming out of the wall.
Once it has drained, use a wrench to unscrew the old shower arm and replace it with a new one. Make sure you get one that fits correctly in size and thread type for your particular setup. Finally, turn on the water supply again and test for leaks before using your newly fixed shower arm!
Why is My Shower Arm Leaking
A leaking shower arm is a common plumbing problem, and it’s typically caused by an issue with the rubber washer or O-ring that seals against the wall. Over time, these parts can become worn out or damaged, allowing water to pass through and cause leaks. To fix this problem, you’ll need to replace the rubber washer or O-ring in order to stop the leak.
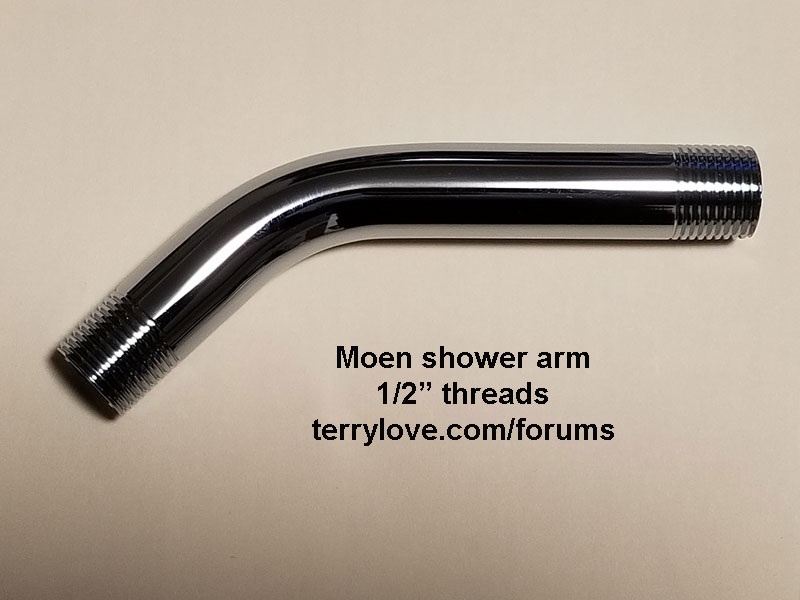
Credit: terrylove.com
How Do I Stop My Shower Arm from Leaking?
To stop a leaking shower arm, you should:
– Replace the washers and gaskets in the shower arm.
– Tighten any loose connections with adjustable pliers.
– Apply Teflon tape to all male threads before reassembling.
– Use pipe dope or thread sealant on threaded connections.
By following these steps, your shower arm should be leak free!
How Do You Seal Shower Arm Threads?
To seal shower arm threads, use plumber’s tape or thread sealant.– Wrap a few layers of plumber’s tape around the threads in a clockwise direction.
– Apply an even layer of thread sealant to the shower arm threads.
– Screw on the connection piece and tighten it with your hand or wrench until it is secure.
Finally, turn on the water supply to check for any leaks and ensure that everything is sealed properly.
Can You Over Tighten Shower Arm?
Yes, it is possible to over tighten a shower arm. This can cause damage to the components of the arm and potentially lead to water leakage. To ensure you don’t over tighten your shower arm:
• Use appropriate tools for the job – preferably a wrench or spanner
• Check that all connections are properly aligned before tightening
• Use only enough force necessary for a secure tightness
Once fully tightened, check again that no further movement is present in any part of the connection.
Why Does My Shower Arm Leak?
A leaking shower arm is often caused by a cracked or worn out washer inside the shower head. To fix it, you will need to:– Unscrew the shower arm from the wall
– Detach the shower head and inspect for any damage
– Replace any faulty parts with new washers.By replacing these components, you can ensure that your shower arm does not leak again in future.
How to super Tighten your leaking shower arm
Conclusion
This blog post has provided a comprehensive overview of the various causes and solutions for a shower arm leaking at threads. From examining common problems such as improper installation, to more complex issues like broken parts or mineral deposits, we have explored ways to identify and address these issues. Whether it is replacing O-rings or using sealant tape, the information in this post should prove useful when attempting to repair a shower arm that is leaking at its threads.