If the diverter pin came out of your shower, you will need to replace it. To do this, first turn off the water to your shower. Next, remove the handle and escutcheon plate from your shower.
Once these are removed, you will be able to see the diverter valve. Remove the old diverter valve and install a new one in its place. Finally, reattach the handle and escutcheon plate.
Tub faucet spout diverter pull lever broke off – DIY fix
If you’re like most people, you probably don’t think too much about your shower diverter. But what happens when the diverter pin comes out? Suddenly, you have a big problem on your hands!
The shower diverter is responsible for directing water from the shower head to the faucet. When the pin comes out, water can no longer be directed to the faucet and will instead come out of the shower head at full force. This can be extremely dangerous as it can lead to slips and falls.
If you find yourself in this situation, the first thing you should do is turn off the water to your bathroom. This will stop the flow of water and prevent any further damage. Once the water is off, you can then assess the situation and figure out how to best proceed.
In most cases, you’ll need to replace the entire shower diverter assembly. This is not a difficult task but it is one that should be left to a professional if you’re not comfortable doing it yourself. Replacing the assembly is relatively inexpensive and will solve the problem once and for all.
If you have a shower diverter pin that has come out, don’t panic! Just follow these simple steps and you’ll have your bathroom back up and running in no time!
Shower Diverter Broke off
If your shower diverter has broken off, don’t panic! This is a relatively easy problem to fix. First, you’ll need to identify what type of diverter you have.
There are two common types: the cartridge type and the washerless type. Once you know which type you have, follow the instructions below to replace it.Cartridge Type:
1. Turn off the water at the shut-off valve.
2. Remove the handle by unscrewing it from the valve stem.3 Take out the retaining clip or screw that holds the cartridge in place.4 Use a pliers to remove the old cartridge from the valve body (it may be stuck so some force may be required).5 Insert the new cartridge into the valve body and reattach any retaining clips or screws.6 Screw on the handle and turn on the water at the shut-off valve. Test your shower by turning on The hand shower/spray unit should now work properly!
If not, please consult a professional plumber as there may be another issue with your plumbing system..
How to Fix Shower Diverter Pull-Up
Shower diverters are a common problem in many households. The good news is that they are relatively easy to fix. This blog post will show you how to fix a shower diverter pull-up in just a few simple steps.
First, identify the problem. Is the water not coming out of the shower head at all? Or is it coming out slowly?
If the water is not coming out of the shower head at all, then the most likely problem is that the diverter is not working properly. If the water is coming out slowly, then there may be something blocking the diverter or the water flow may be restricted.Second, check to see if there are any obvious problems with the diverter itself.
If it looks like it is damaged or broken, then it will need to be replaced. However, if everything looks normal, then you can move on to step three.Third, take a look at the shower head and make sure that it is screwed on tightly.
If it isn’t, then unscrew it and screw it back on tightly. This should solve the problem if Step Two didn’t work. Finally, check to see if there are any other restrictions in your showerhead or piping that could be causing problems with your diverter pull-up.
How to Fix Shower Diverter in Wall
If your shower diverter is not working properly, there are a few things you can do to fix it. Depending on the problem, you may be able to fix it yourself without having to call a plumber.First, check to make sure that the diverter is turned all the way on.
If it is not, turn it clockwise until it stops. Next, check to see if there is anything blocking the diverter valve from opening all the way. If there is, remove the obstruction and try again.
If the diverter still will not open all the way, there may be a problem with the valve itself. You can try removing the valve and cleaning it with vinegar or another cleaner designed for mineral deposits. If this does not work, you will need to replace the valve.
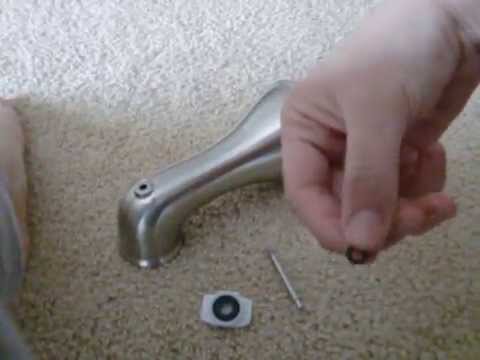
Tub Spout Diverter Fell Out
“I was in the middle of my shower when I noticed that the water pressure had suddenly decreased. I looked down and saw that the diverter on my tub spout had fallen out! I quickly replaced it and finished my shower, but it got me thinking about how common this problem is.
If you have a tub spout diverter, chances are at some point it will come loose and fall out. If this happens while you’re in the middle of a shower, don’t panic! You can usually just put the diverter back in place and continue with your shower.
But if the diverter won’t stay in or if water starts leaking from around it, you’ll need to replace it.Fortunately, replacing a tub spout diverter is relatively easy to do yourself. Just follow these steps:
1) Turn off the water to your bathroom. This is important because you don’t want to be working with live electrical wires or wet surfaces.
2) Remove the old diverter by unscrewing it from the tub spout (it’s usually held on by two screws).
If there’s any residue left on the threads, clean it off so that the new diverter will screw on easily.
3) Screw on the new diverter tight enough so that it doesn’t leak, but not so tight that you strip the threads or damage the finish on your tub spout. 4) Test things out by turning on the water and making sure everything works as it should.
Shower Diverter Repair Kit
If you’ve ever had a shower diverter that leaks or doesn’t work correctly, then you know how frustrating it can be. A shower diverter repair kit can help to fix these common problems. These kits usually come with new washers and o-rings, as well as instructions on how to properly install them.
In most cases, a shower diverter repair kit is all you’ll need to get your shower working like new again. However, if your problem is more serious, you may need to replace the entire diverter. This is a relatively easy job that anyone with basic plumbing skills can do.
If you’re not sure whether or not you need a repair kit or a replacement diverter, it’s always best to consult with a professional plumber. They will be able to diagnose the problem and recommend the best course of action.
Credit: www.lowes.com
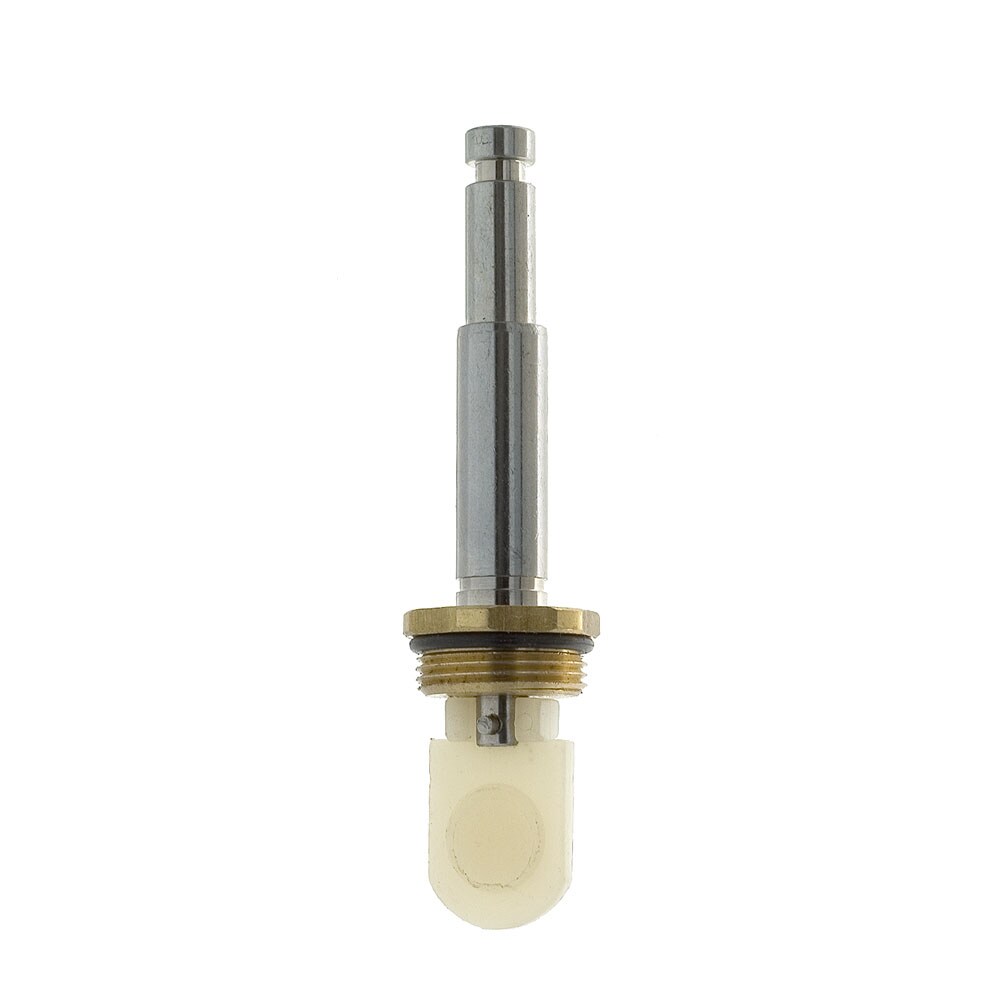
How Do You Fix a Shower Diverter Pin?
If your shower diverter is leaking or not working properly, you may need to replace the diverter pin. To do this, you will need to remove the old pin and install a new one.To remove the old diverter pin, start by turning off the water supply to your shower.
Next, remove the handle from the diverter knob and use a screwdriver to remove the cap that covers the pin. With the cap removed, you should be able to see the head of the pin. Use a pair of pliers to grip the head of the pin and pull it out of the diverter knob.
Once the old pin is removed, take a look at it to determine which size and style of replacement pin you will need. You can purchase replacement pins at most hardware stores or online retailers that sell plumbing supplies.To install the new diverter pin, start by inserting it into The Divertor Knob from The Top Side until The Pin Stops Against The Bottom OfThe Knob Cap threaded opening then add Teflon Tape To The Threads OfThe Pin before Screwing OnThe Knob Cap Hand Tight .
Finally turn onThe Water Supply And test for leaks .
How Do You Tighten a Shower Diverter?
If your shower diverter is leaking or not functioning properly, it may be time to tighten it. Depending on the type of shower diverter you have, the process for tightening it will vary. Here are instructions on how to tighten a shower diverter for three common types:
1. Twist Type Shower DivertersIf you have a twist type shower diverter, you will need to remove the handle first. To do this, use a screwdriver to unscrew the setscrew that is holding the handle in place.
Once the handle is removed, you will see a metal sleeve underneath. Use an adjustable wrench to grip this sleeve and turn it clockwise until it is tight. You may need to use some force to get it tight enough – just be careful not to over-tighten as this could damage the diverter.
Finally, replace the handle and screw in the setscrew to secure it in place.2. Push-Button Shower DivertersPush-button shower diverters are usually located near the faucet handles on either side of the tub spout.
To tighten one of these diverters, simply press down on it firmly with your finger and twist clockwise until it feels snug. If there is any resistance when you try to push the button down, that means it is already tight enough and you don’t need to turn it any further.3. Lever Handle Shower Diverters
Lever handle shower diverters are similar to push-button diverters but are operated by a lever instead of a button. The lever is usually located just above or below the tub spout (depending on which way up your particular model is installed).
How Do You Fix a Shower Handle That Fell Off?
If your shower handle has fallen off, there are a few things you can do to fix it. First, try to screw the handle back on. If that doesn’t work, you may need to replace the entire valve.
To do this, turn off the water to your shower and remove the old valve. Then, install the new valve and turn on the water.
How Do You Replace a Shower Diverter Spout?
If your shower diverter spout is leaking or damaged, it needs to be replaced. You can do this yourself with a few tools and some basic plumbing skills. Here’s how:
1. Turn off the water to your shower. This will usually be done at the main water shut-off valve for your home.
2. Remove the old shower diverter spout by unscrewing it from the wall with a wrench or pliers.
Be careful not to damage the surrounding tile or fixtures.
3. Clean any debris or buildup from the threads on the pipe coming out of the wall. This will ensure that your new spout will screw on properly.
4 . Wrap Teflon tape around the clean threads 3-4 times in a clockwise direction before screwing on your new diverter spout clockwise until tight . Hand-tightening should be sufficient; no need to use excessive force or risk stripping the threads 5 .
Conclusion
If the shower diverter pin came out, it is likely because the washer is worn out. To fix this, simply replace the washer with a new one.