
To remove an Oatey toilet flange cap, start by turning off the water supply to the toilet. Then flush the toilet and use a sponge or towel to soak up any remaining water in the tank and bowl. After that, unscrew the two screws located on either side of the cap until they come loose.
Once they are loose, carefully lift it off with a screwdriver. You may need a pair of pliers if there is corrosion or rust around them which make them difficult to loosen. Finally, clean any residue from inside of your new flange cap before reinstalling it into place using appropriate sealant for waterproofing.
- Turn off the water supply to the toilet
- This can be done by turning off the shutoff valve located behind or near the toilet
- Remove any bolts and screws that are securing the Oatey flange cap in place using a screwdriver
- Pry up on one corner of the Oatey flange cap with a flat head screwdriver, then work your way around until it’s free from its mounting surface
- Use pliers to grab onto and pull out any remaining pieces left sticking out of the flange opening after you have removed all screws and bolts holding it in place
- 5
- Once all pieces are removed, use a rag or cloth to clean away any dirt residue left behind before replacing with a new Oatey flange cap
How to Break Toilet Flange Cap
If your toilet flange cap is broken or cracked, you may need to replace it in order to prevent any potential leakages. To break the toilet flange cap off, you will need a hammer and chisel. Start by tapping gently with the chisel around the edge of the cap until it loosens enough for you to pry up with your fingers.
Once the cap has been removed, use plumber’s putty to seal around the new toilet flange and then fit it into place using screws. Finally, use a leveler tool to make sure that everything is properly aligned before sealing up with caulk and reinstalling your toilet bowl back onto its proper base.
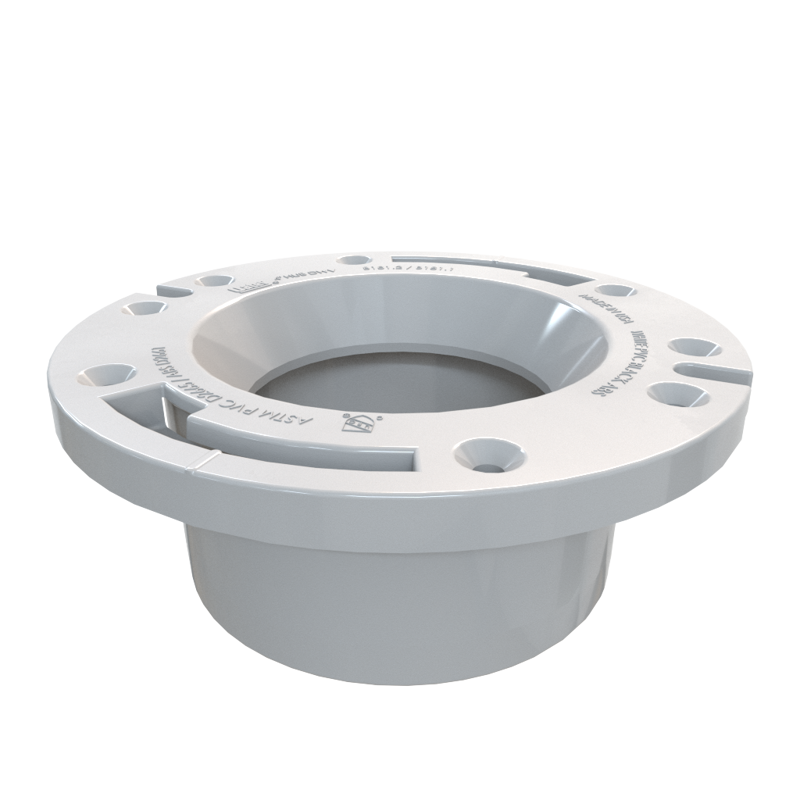
How to Remove Pvc Toilet Flange Cap
Removing a PVC toilet flange cap is an easy task that can be completed in just a few steps. First, you’ll need to locate the retaining screws on either side of the flange and use a Phillips head screwdriver or Allen wrench to remove them. After unscrewing the screws, gently pull up on the cap while supporting it with one hand.
Once loosened, carefully lift off the entire unit from its base. Finally, you may need to clean out any debris or residue left behind before installing your new flange cap.
How to Remove New Toilet Flange Cap
To remove a new toilet flange cap, first turn off the water supply to the toilet. Then unscrew and remove the mounting bolts that secure the flange cap to the floor. Once you have removed all of these bolts, lift up on the flange cap while gently pulling it away from its position.
If necessary, use a putty knife or other small flat tool in order to pry it loose from any adhesive sealant that may be present. Finally, dispose of your old flange cap properly before installing your new one!
Permanent Toilet Flange Cap
A permanent toilet flange cap is an essential plumbing component that helps prevent sewer gas from entering the home. It also seals off the drain line, ensuring water runs freely and efficiently through the pipes. The cap is designed to fit tightly over the top of a standard toilet flange, creating an airtight seal while allowing easy access for maintenance or repairs.
Installing a permanent toilet flange cap can help keep your home safe from hazardous sewer gases and improve your indoor air quality.
Temporary Toilet Flange Cap
A temporary toilet flange cap is a device used to seal off the drain opening of an unused toilet. It helps prevent sewer gas from entering your home, as well as preventing any pests or debris from entering the pipe. The cap fits securely over the flange, and can be easily installed with basic tools.
This is a great solution for those who need to temporarily seal off their drainpipe during construction or repair work.
Credit: www.oatey.com
How Do You Cap off a Toilet Flange?
To cap off a toilet flange, several steps must be taken:1. Remove the existing flange and clean the area around it.
2. Place new wax ring onto the bottom of the toilet bowl and press down firmly to create an even seal.
3. Install a new toilet flange into place, ensuring that it is level with no gaps between it and the flooring material underneath.
4. Secure the flange in place using screws or bolts as appropriate for your model of fixture; use caulk if necessary to fill any small gaps left behind by these fasteners when tightened down completely.
5. Place a rubber gasket overtop of the newly-installed flange before setting your toilet back into position on top of its mounting surface in order to complete this job correctly and safely!
How Do You Remove Pvc Test Caps?
PVC test caps can be removed by following a few simple steps:
• Unscrew the cap.
• Cut off the end of the pipe with a saw or knife if necessary.
• Pull out the cap using pliers or a screwdriver.
• Clean up any debris and dispose of it properly.
It is important to follow safety protocols when removing PVC test caps, such as wearing protective gloves and eyewear, in order to avoid accidents or injury.
How Do You Remove a Tko Toilet Flange Cover?
To remove a TKO toilet flange cover, follow these steps:
• Disconnect the water supply line from the tank.
• Loosen and remove any screws that are holding down the flange.
• Gently pry off the old flange with a flathead screwdriver or putty knife.
• Clean up any debris left behind before installing a new toilet flange cover.
What is the Purpose of a Test Cap on a Toilet Flange?
A test cap on a toilet flange serves several purposes:
• To prevent sewer gas from entering the home.
• To ensure that wastewater passes through the pipe.
• To allow for testing of water pressure in a plumbing system.
The test cap also acts as an additional seal to keep water and debris out of the drainage system. By providing extra protection, it helps maintain proper functioning of the plumbing system.
Closet Flange Test Cap Removal Process
Conclusion
Removing an Oatey toilet flange cap may seem like a daunting task, but with the right tools and step-by-step instructions it can be done fairly quickly. Using a hacksaw and screwdriver will ensure that you have all the necessary items to complete the job. After unscrewing any set screws, loosen up the bolts around the cap before lifting it off from the flange underneath.
With this guide in hand, you should now be able to remove your Oatey toilet flange cap without any problems.
